MKL-slab
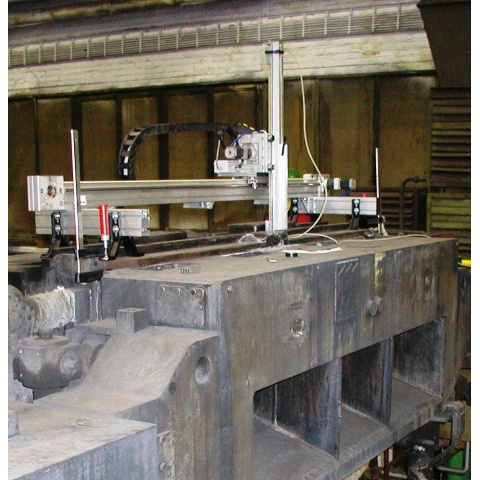
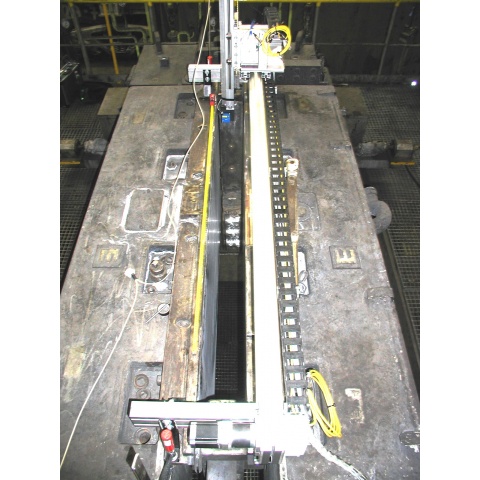
An experimental arrangement for measuring dimensions and wear of a slab mould was developed based on the proven MKL system for rectangular formats. The specificity of slab CCMs is the large width of the cast product (slab) compared to its thickness. The laser measuring head therefore does not rotate during the measurement, but moves in steps along the width of the slab mould. Therefore, first the surface of only one side (plate) of the mould is measured and, after finishing this, the laser has to be manually rotated by 180° towards the opposite plate.
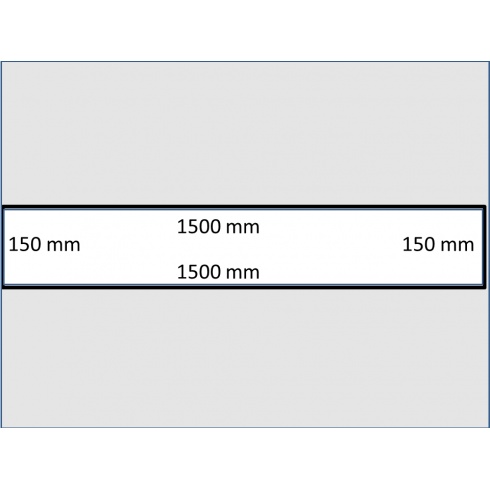
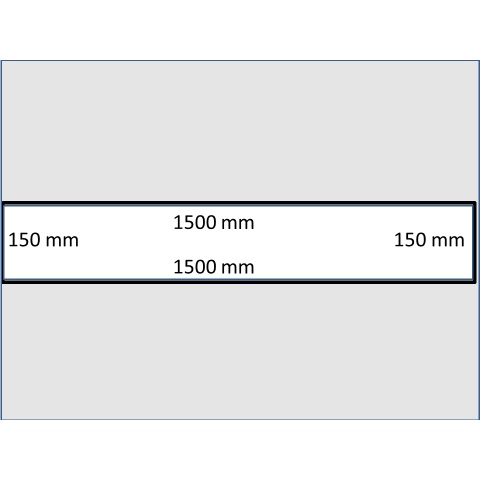
In the specific case of 1 500/150 mm mould, laser reading at a given height level takes place in 1 mm increments. The measurement takes place twice - there and back. For the evaluation, the measured data is reduced to 150 values, i.e. for 1 cm steps. This means that this figure is then calculated from 20 measurements of 1 mm mutual distance. In this way, the dispersion of individual measured values is filtered.
In the case of experimental measurements mentioned, in order to achieve the highest resolution, measurements were made at 36 levels alongside the mould height i.e. in 25 mm distances. Since the standard MKL measurement software counts at maximum 18 levels, 18 levels of the lower half of the plate were first measured, then manually moved the laser 450 mm up, and 18 levels of the upper half of the plate were measured. The same was done on the opposite plate.


